Tutorial
Access
First, go to the Jupiter. This is the hosted version of Jupiter, which is the recommended way to start. If you're looking for a local install, then checkout installation instructions. Everything below should work the same.
Create A Workspace
The workspace is where all your work in Jupiter happens. You'll first need to create one.
On accessing Jupiter you should just see a basic button which you need to click.

You'll see a login form. You need to press New Workspace and you'll be prompted with the following:
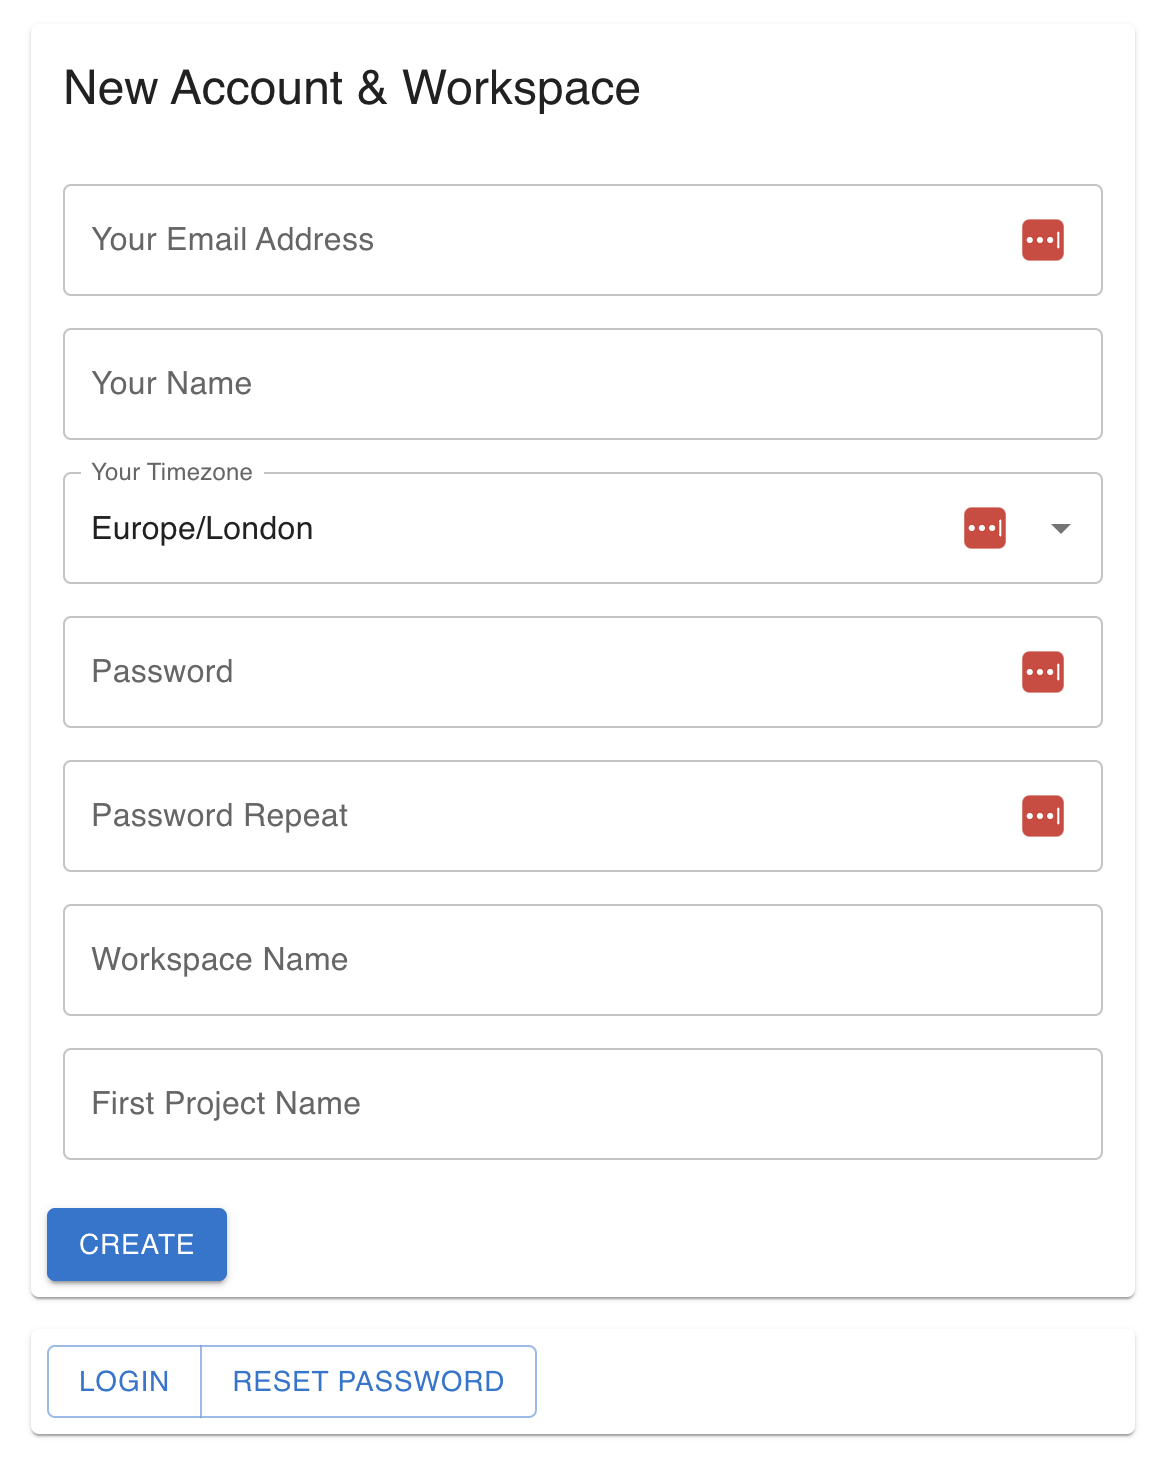
Besides the standard fields that identify you and help keep your accunt secure, you will need to provide a workspace name and initial project name.
Press Create and you will be shown an account recovery token that
you need to store in a safe space. Once you do that, you can proceed to your newly created workspace.
This will be empty:
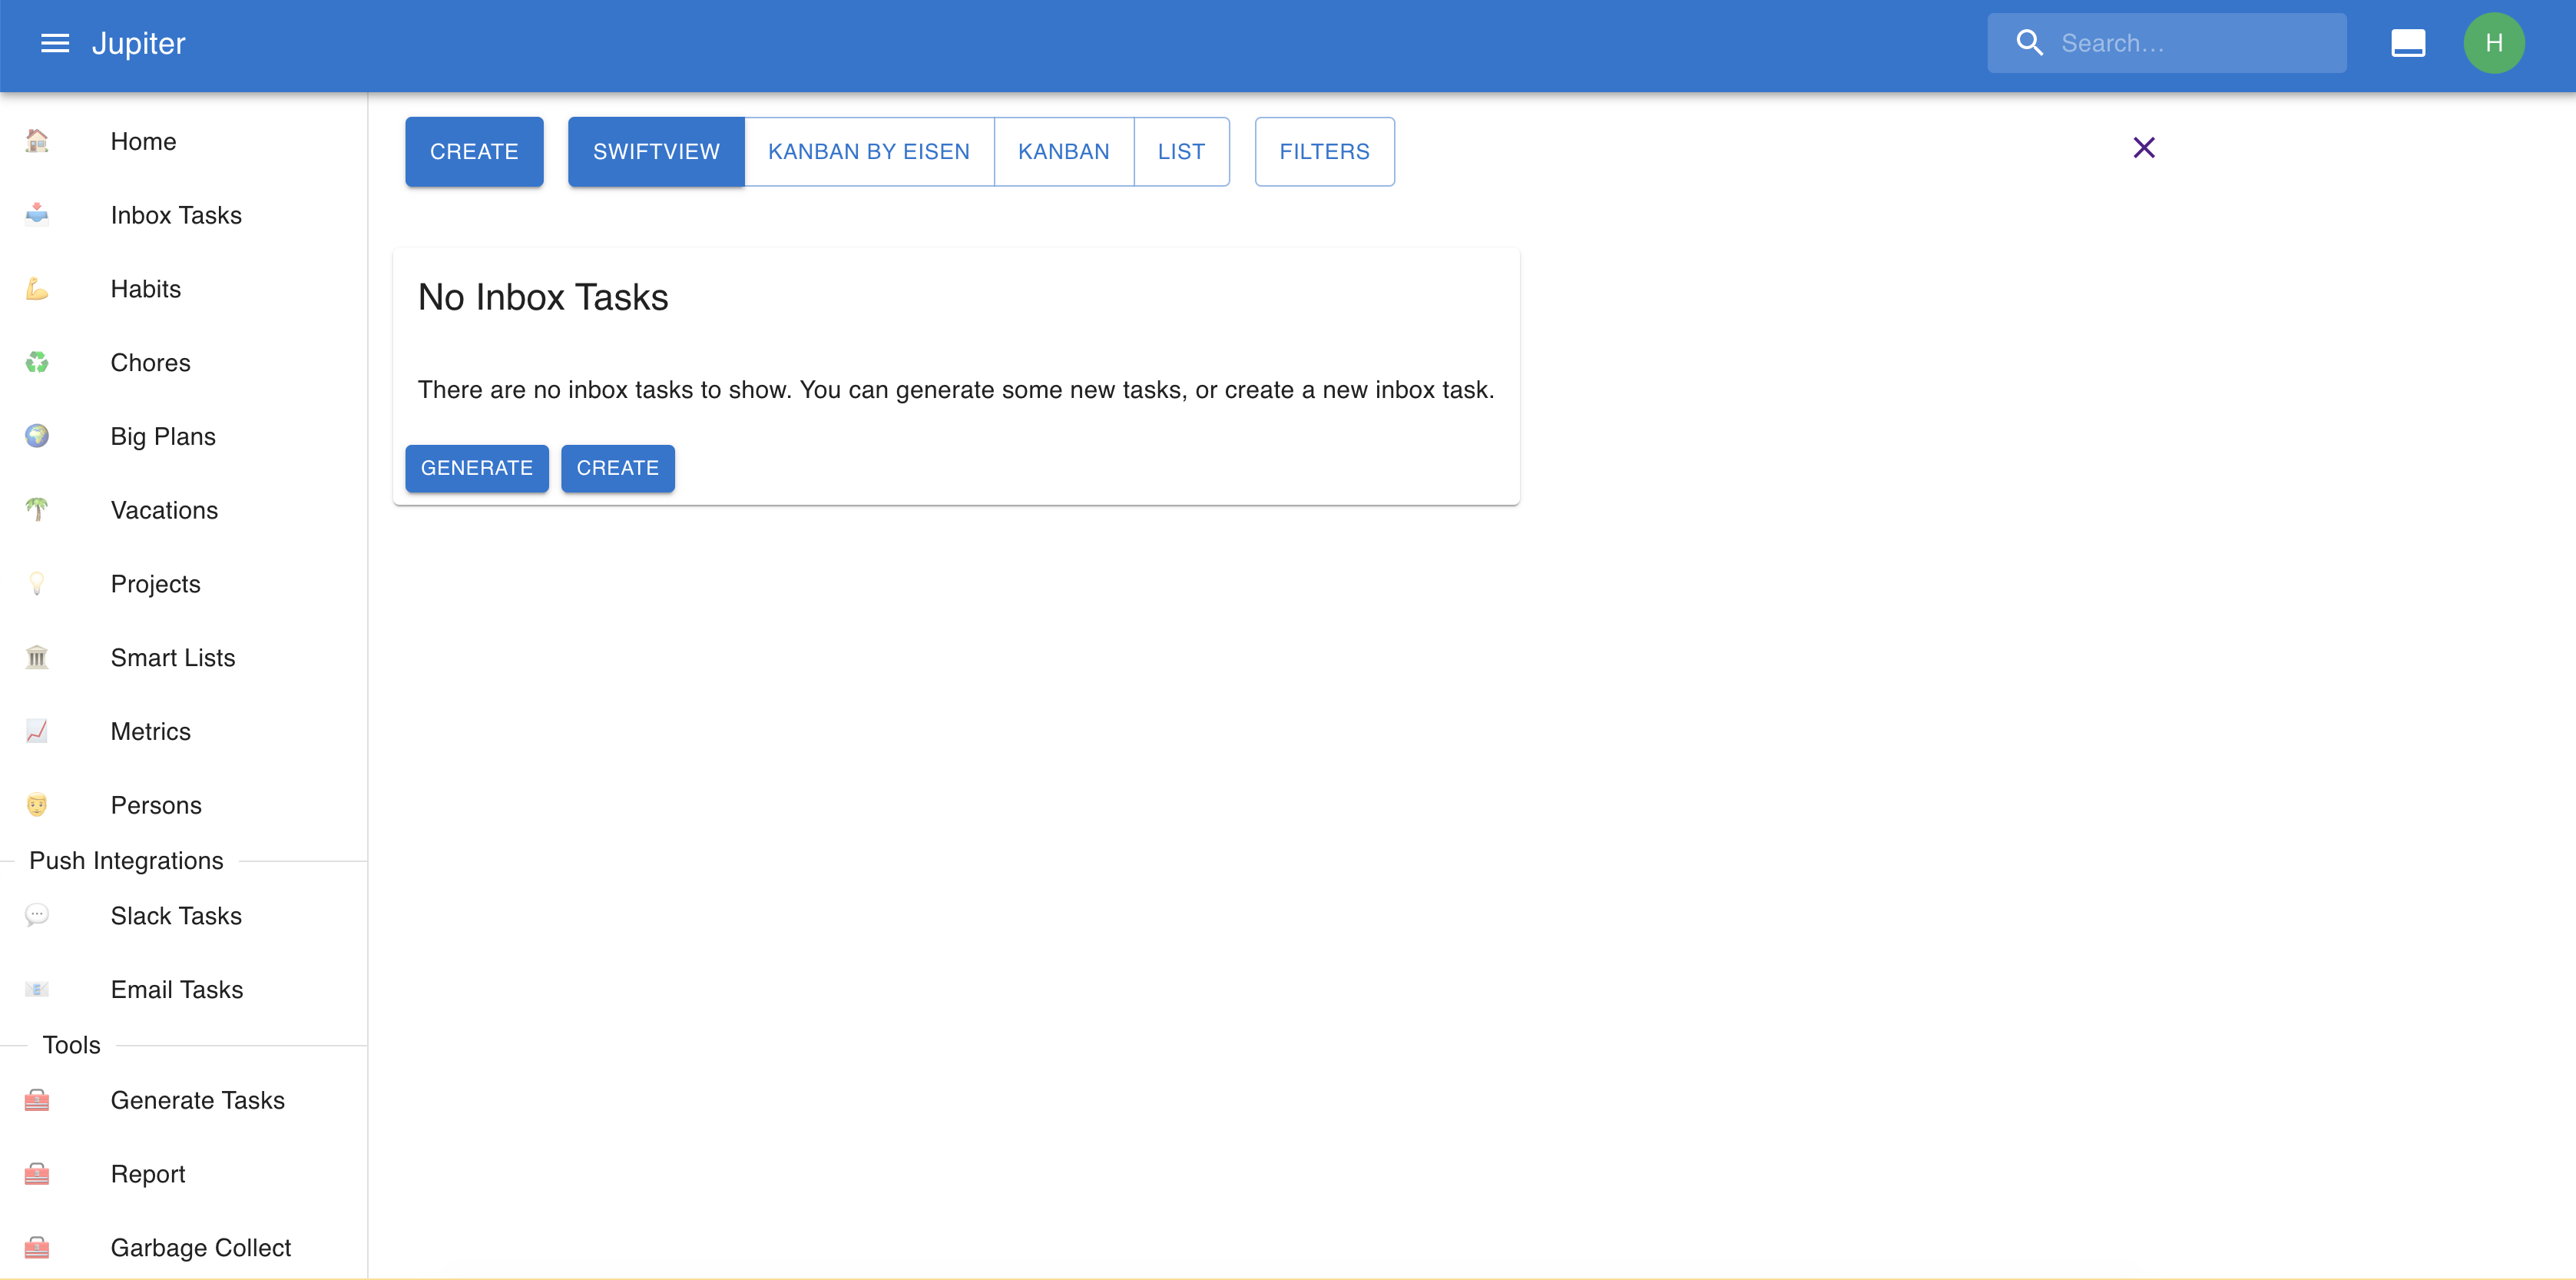
Create An Inbox Task
Let's create an inbox task. Press Create and you'll be prompted with something like this:
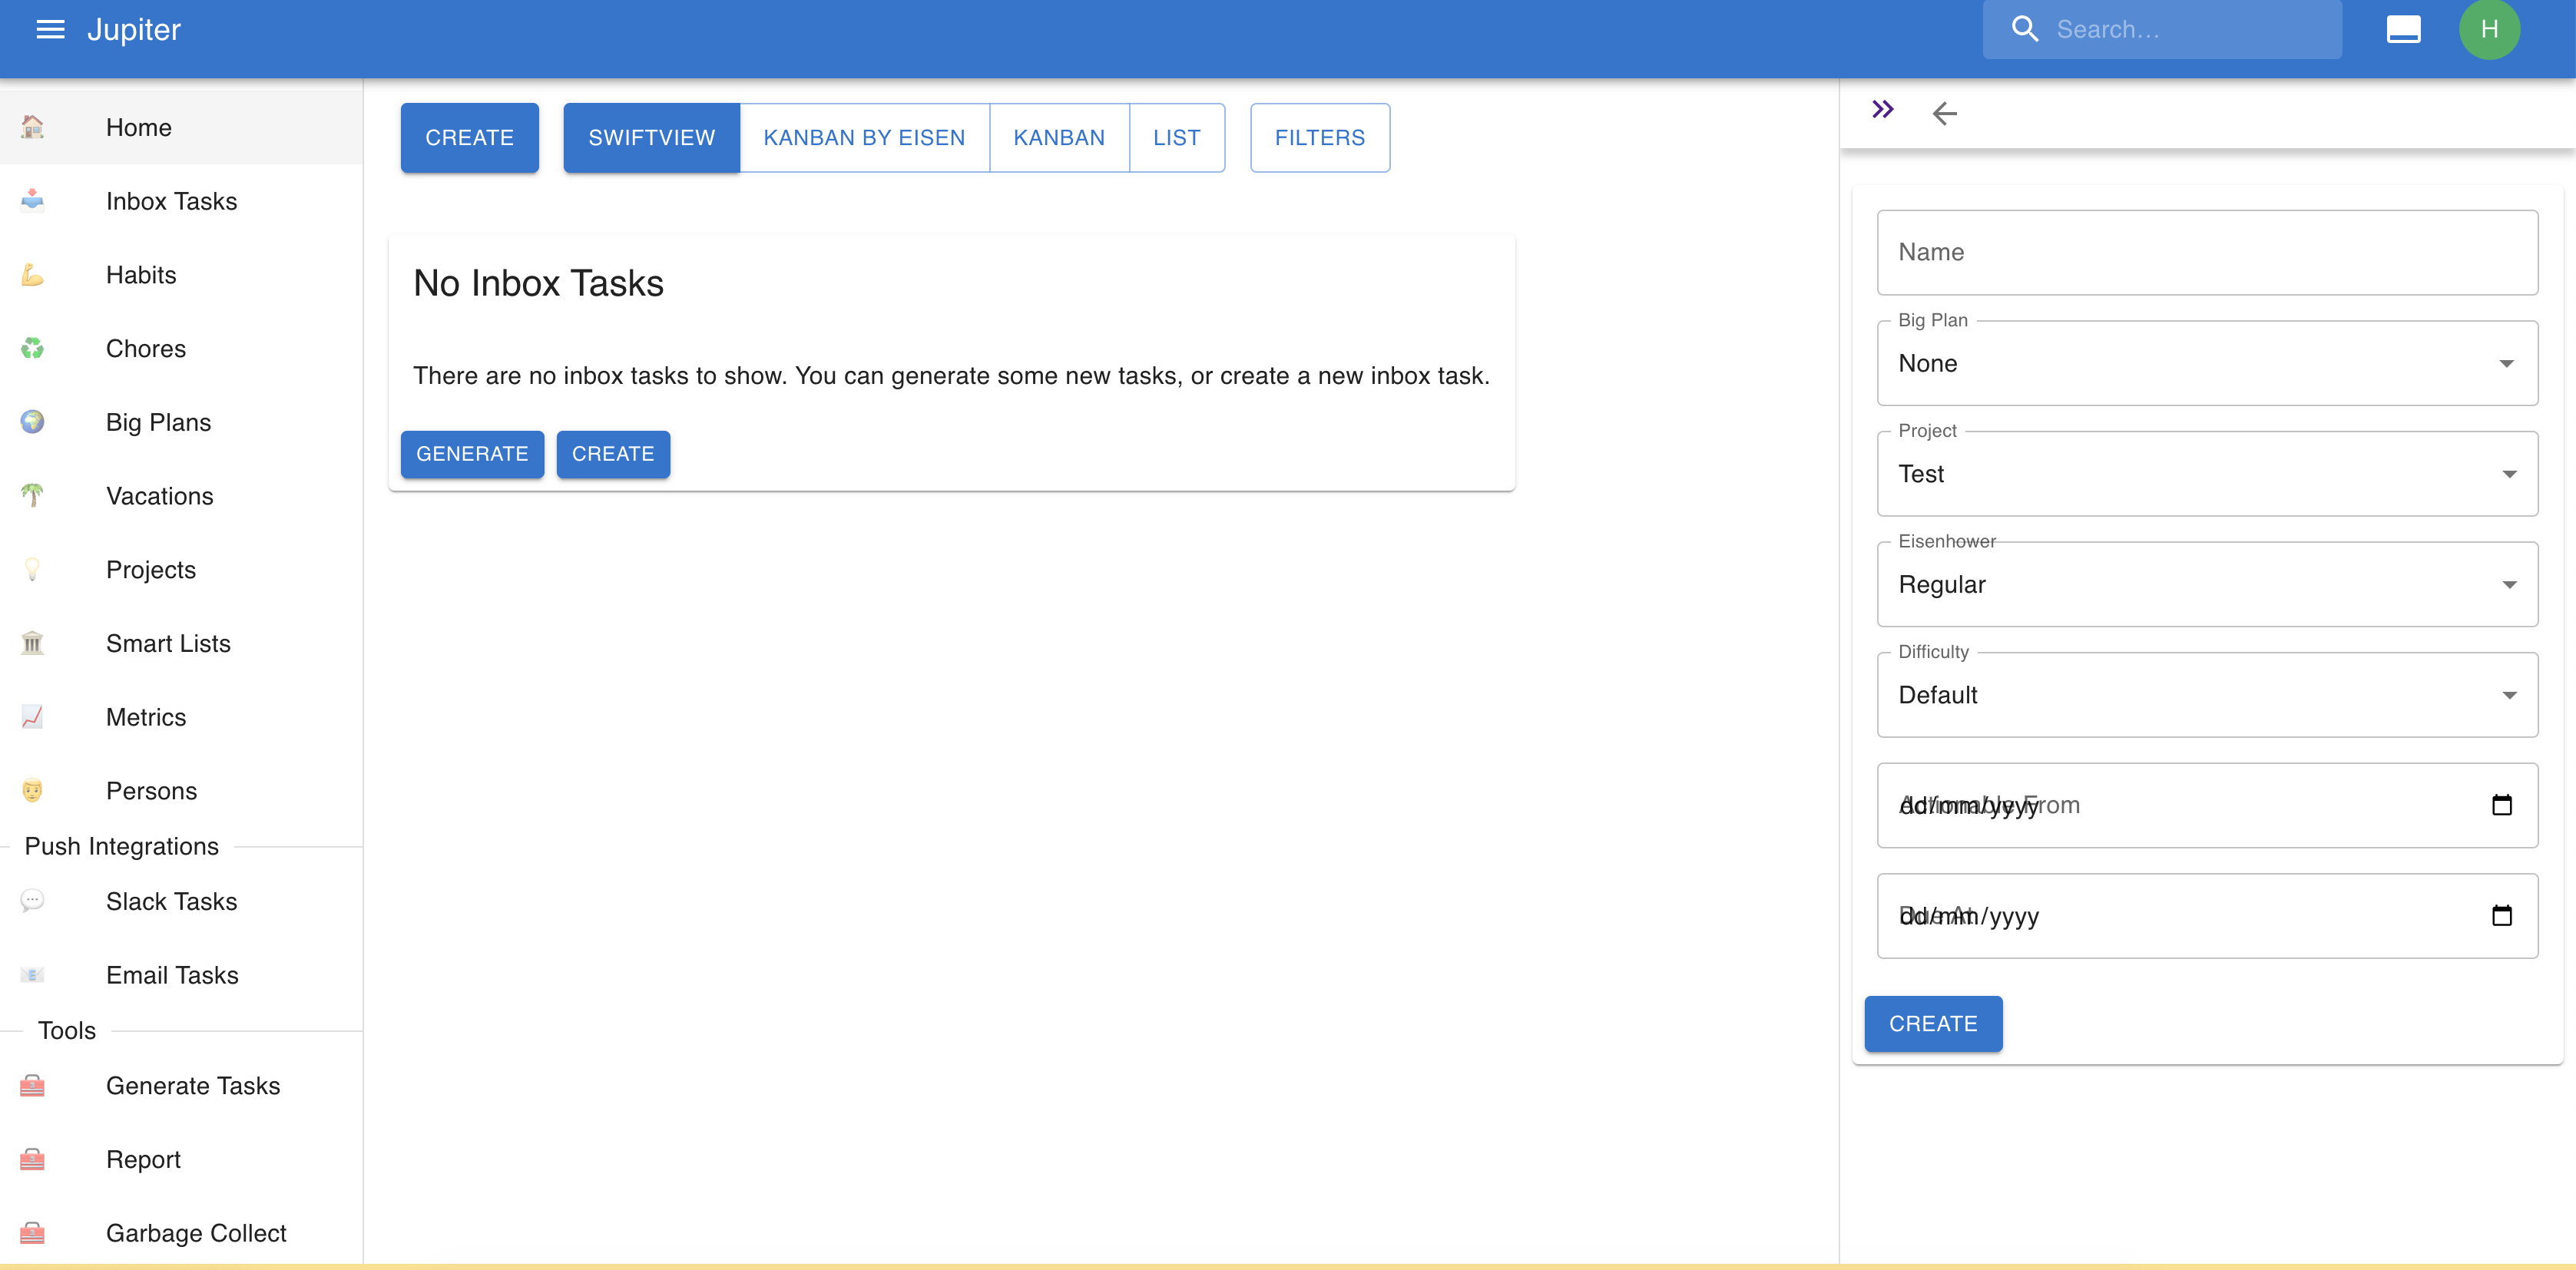
Name the task My fist task and press Create. Things should look like this now:
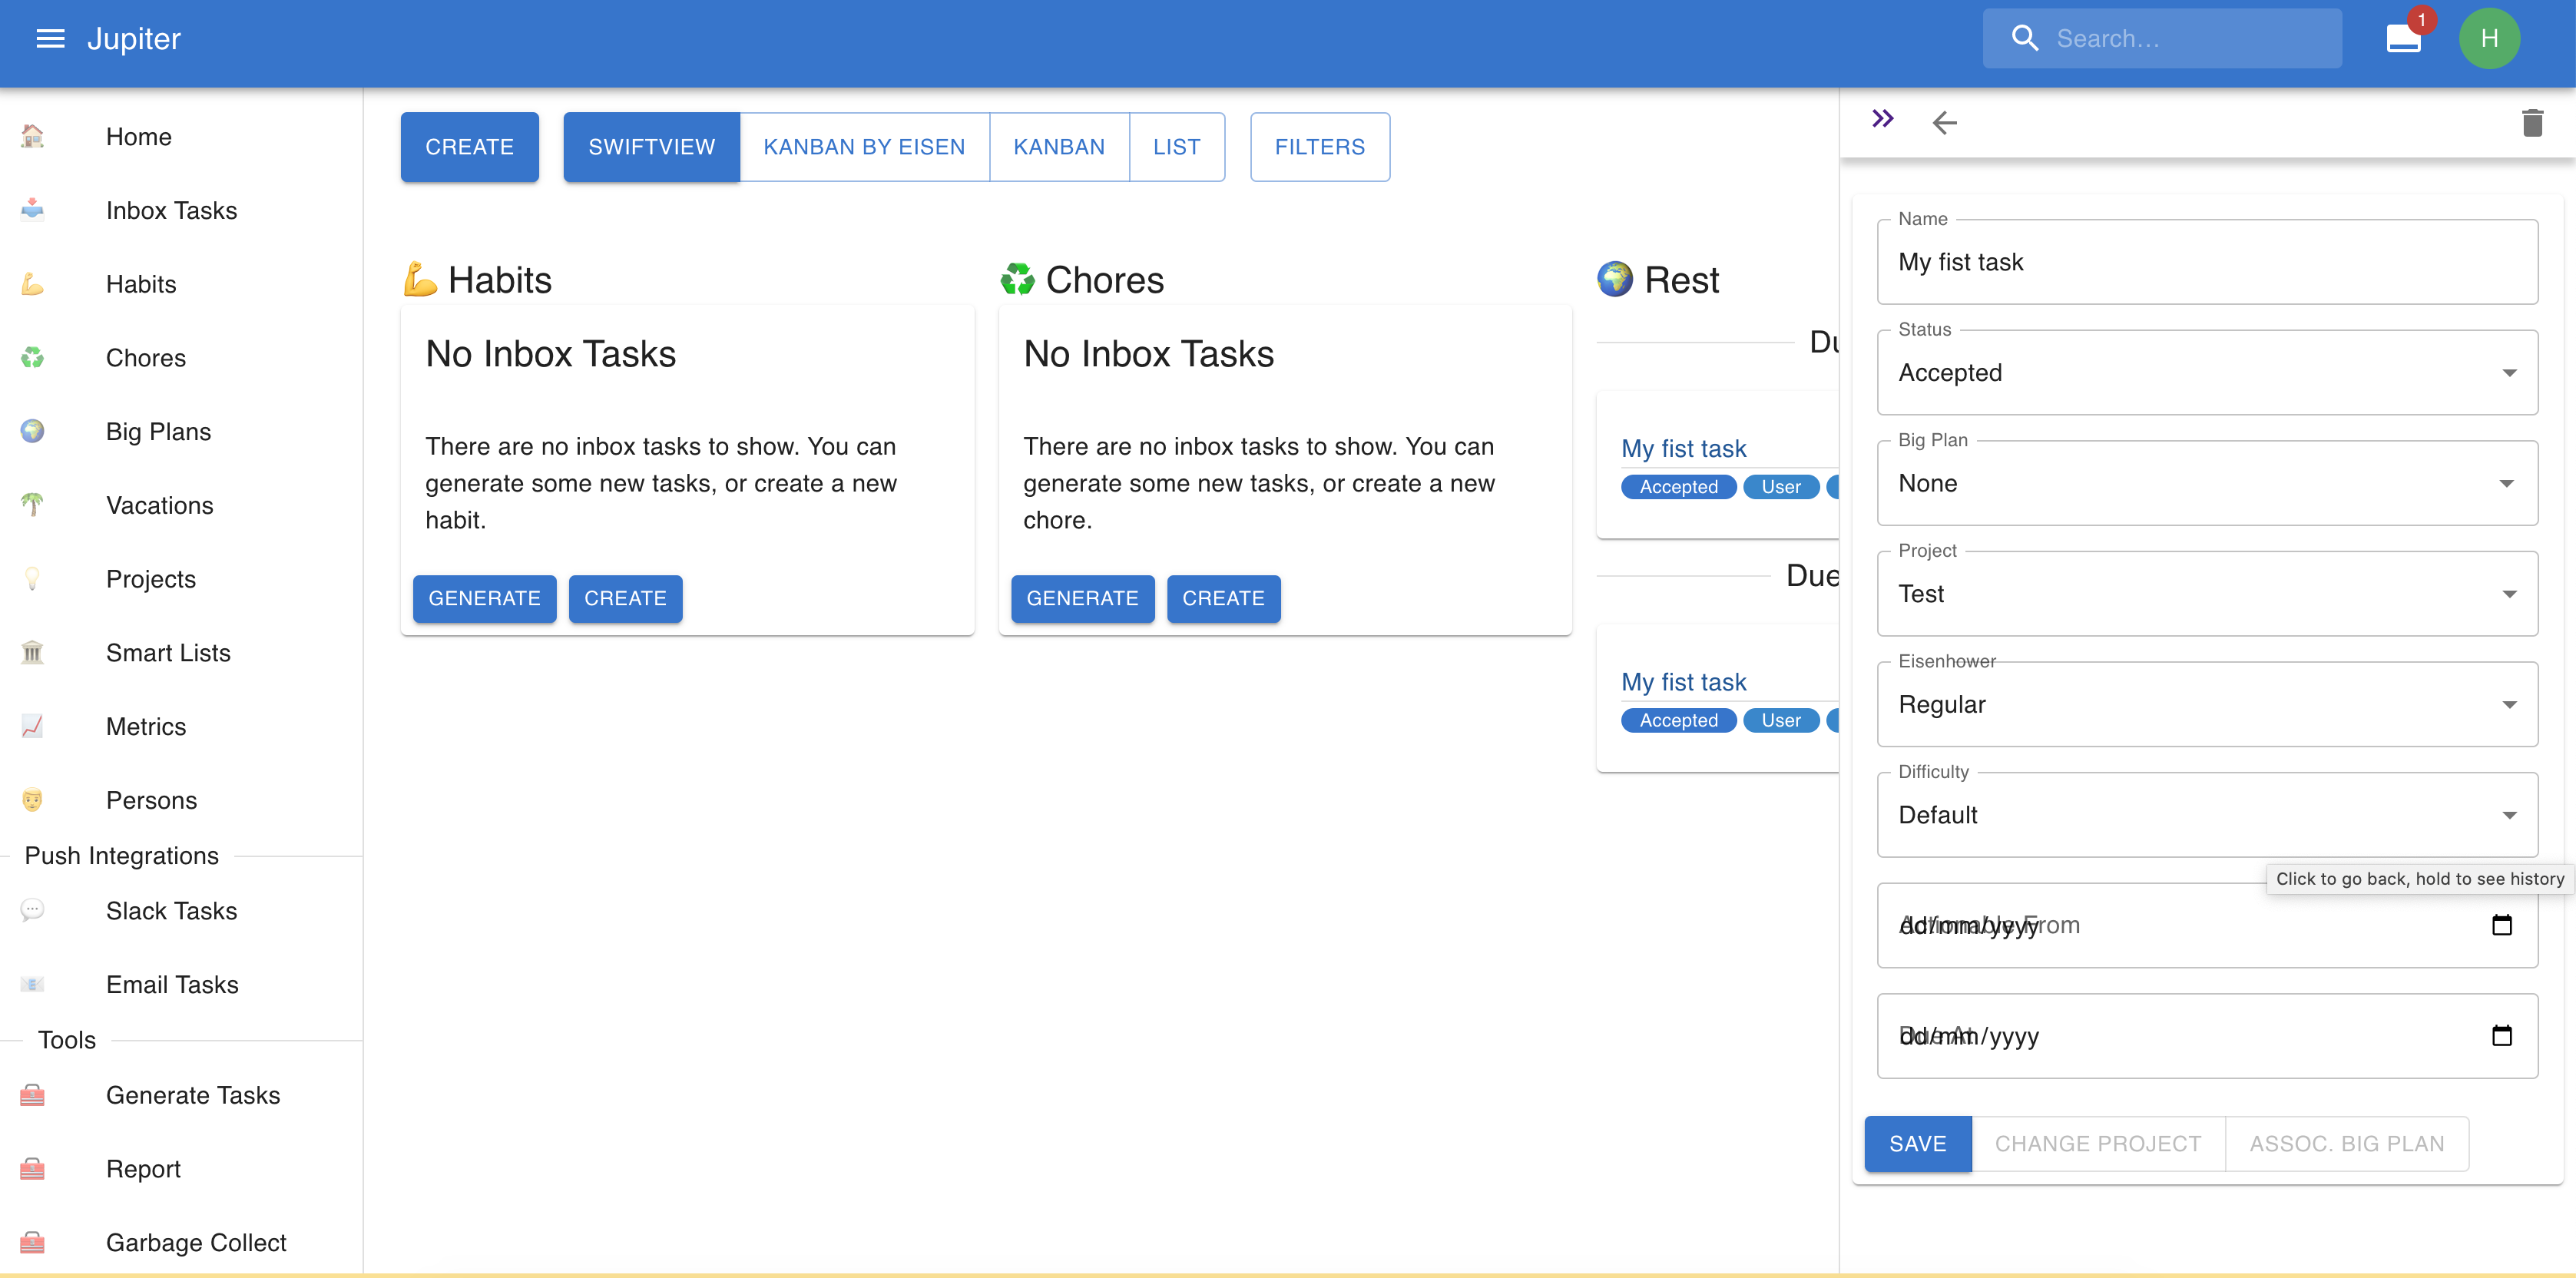
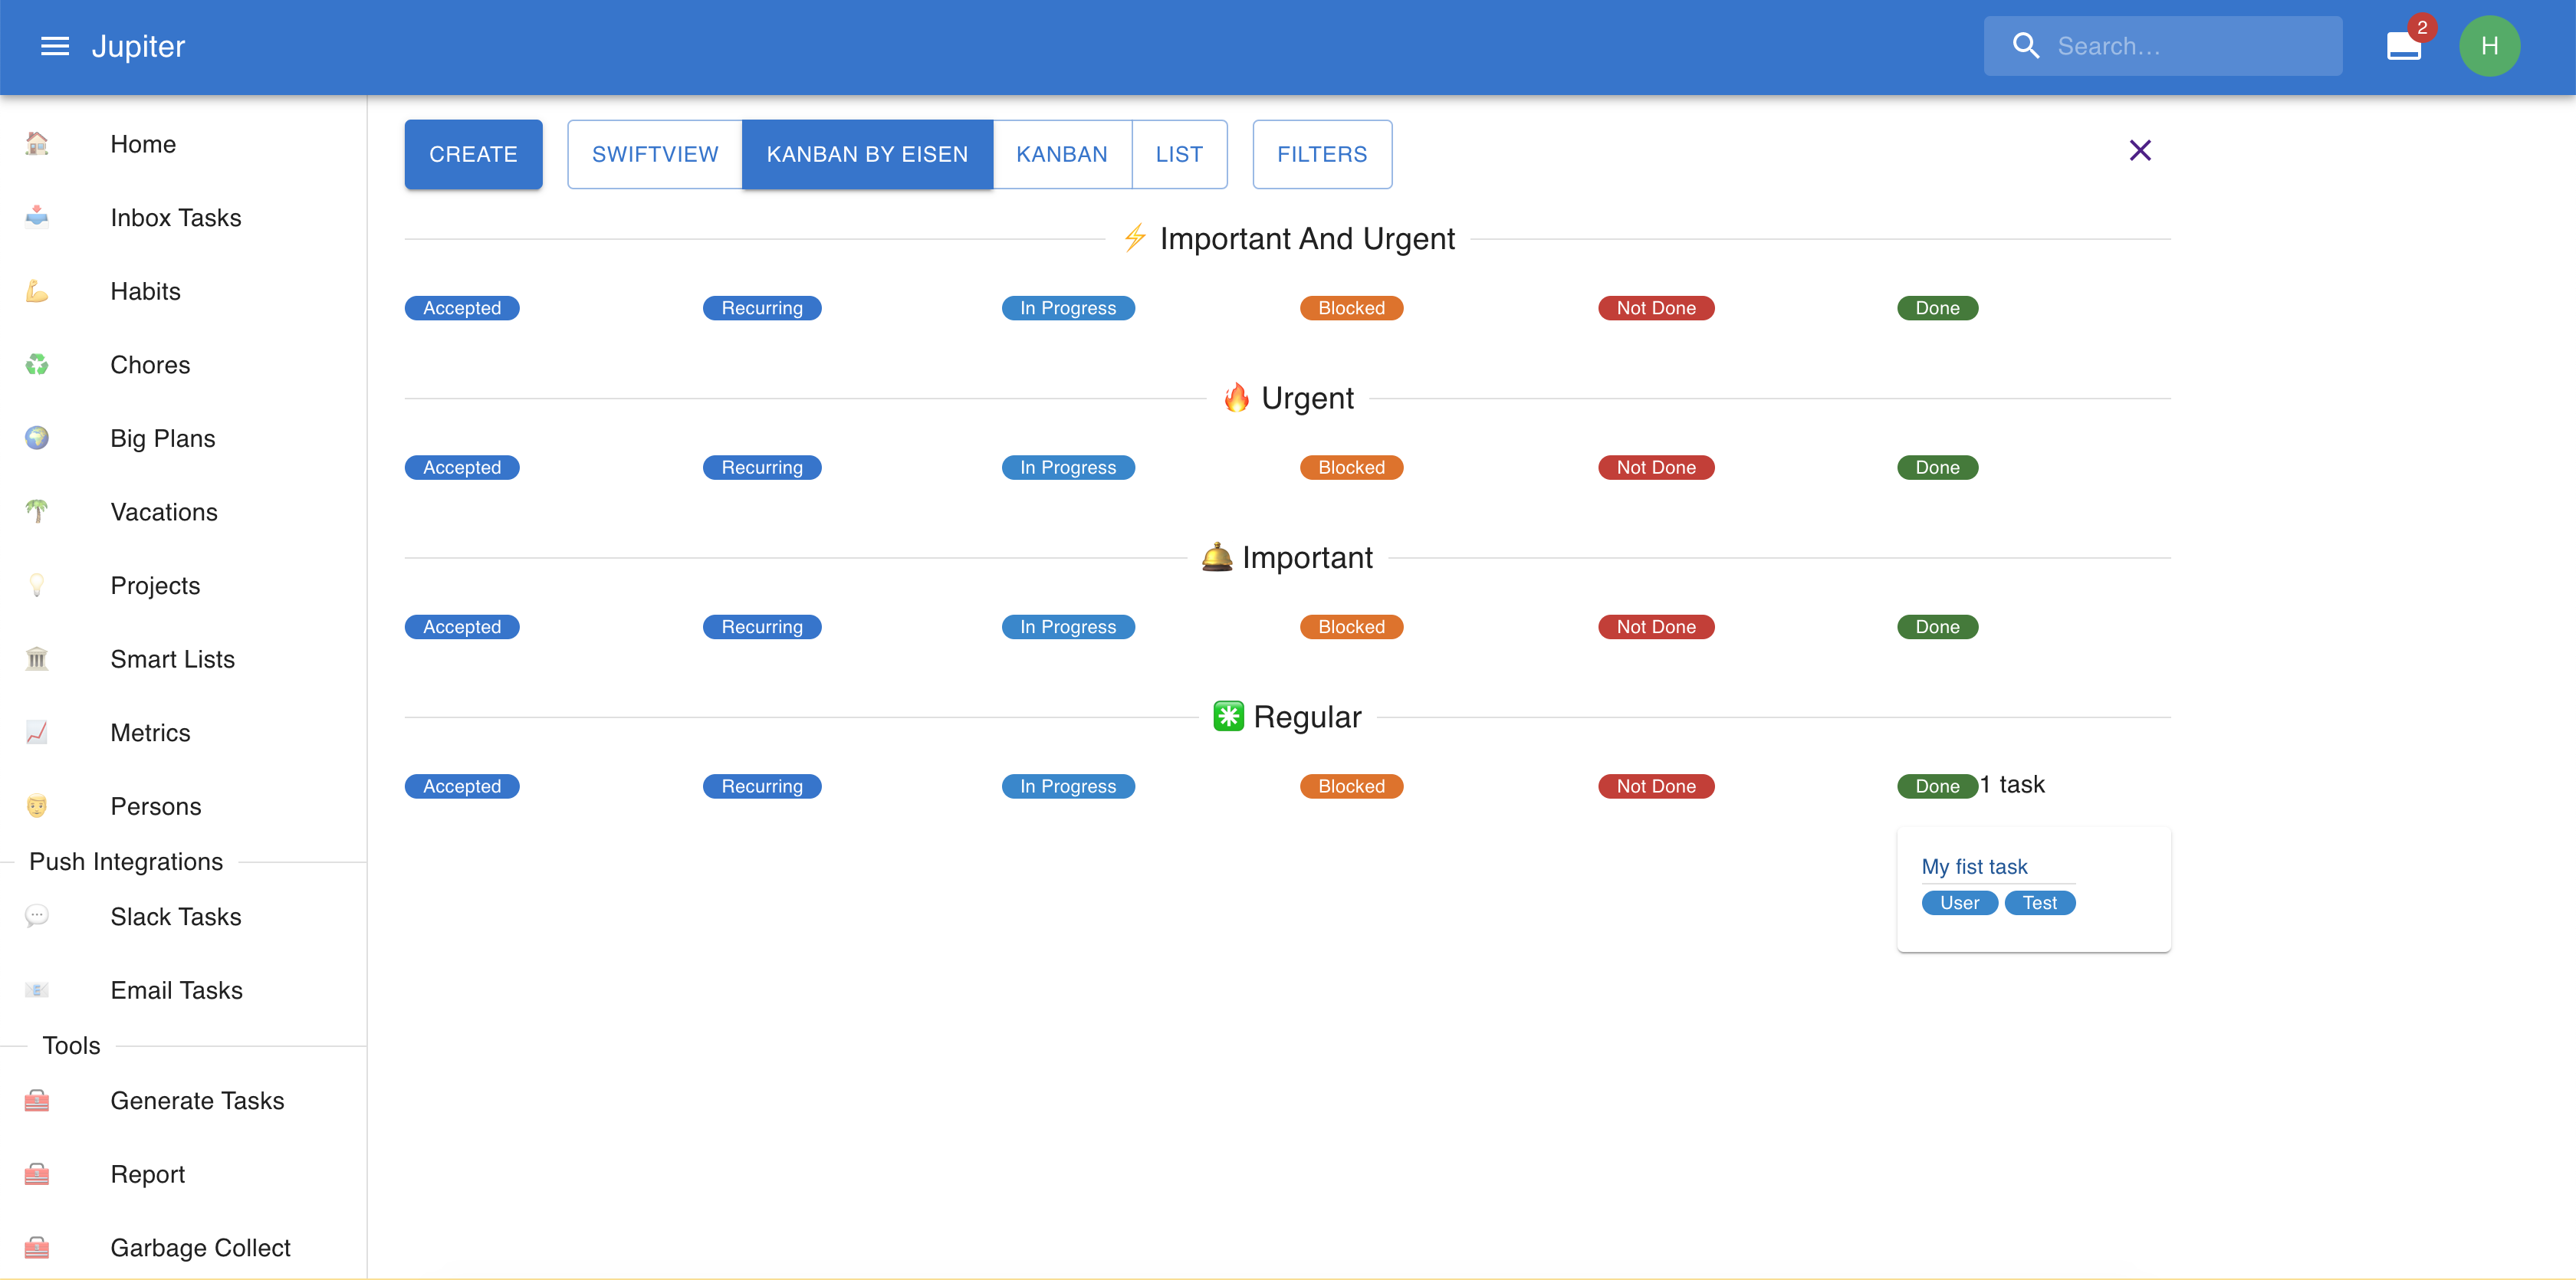
Switch over to the Kanban By Eisen view and drag and drop the task to the Done column. Things should
look like this now:
Congrats
Congrats! You created your workspace and performed your first task on Jupiter. It's a big achievement!
You are now equiped with this fundamental knowledge. Now you can play around, or read the various parts of this guide to get yourself familiarized with the possibilities. Checkout concepts and how-tos for this more in depth information.
Welcome to Jupiter and happy planning!